When it comes to roofing, asphalt shingles remain a popular choice for homeowners due…
Attic Insulation and Ice Dams: How to Stop Them Before Winter Hits
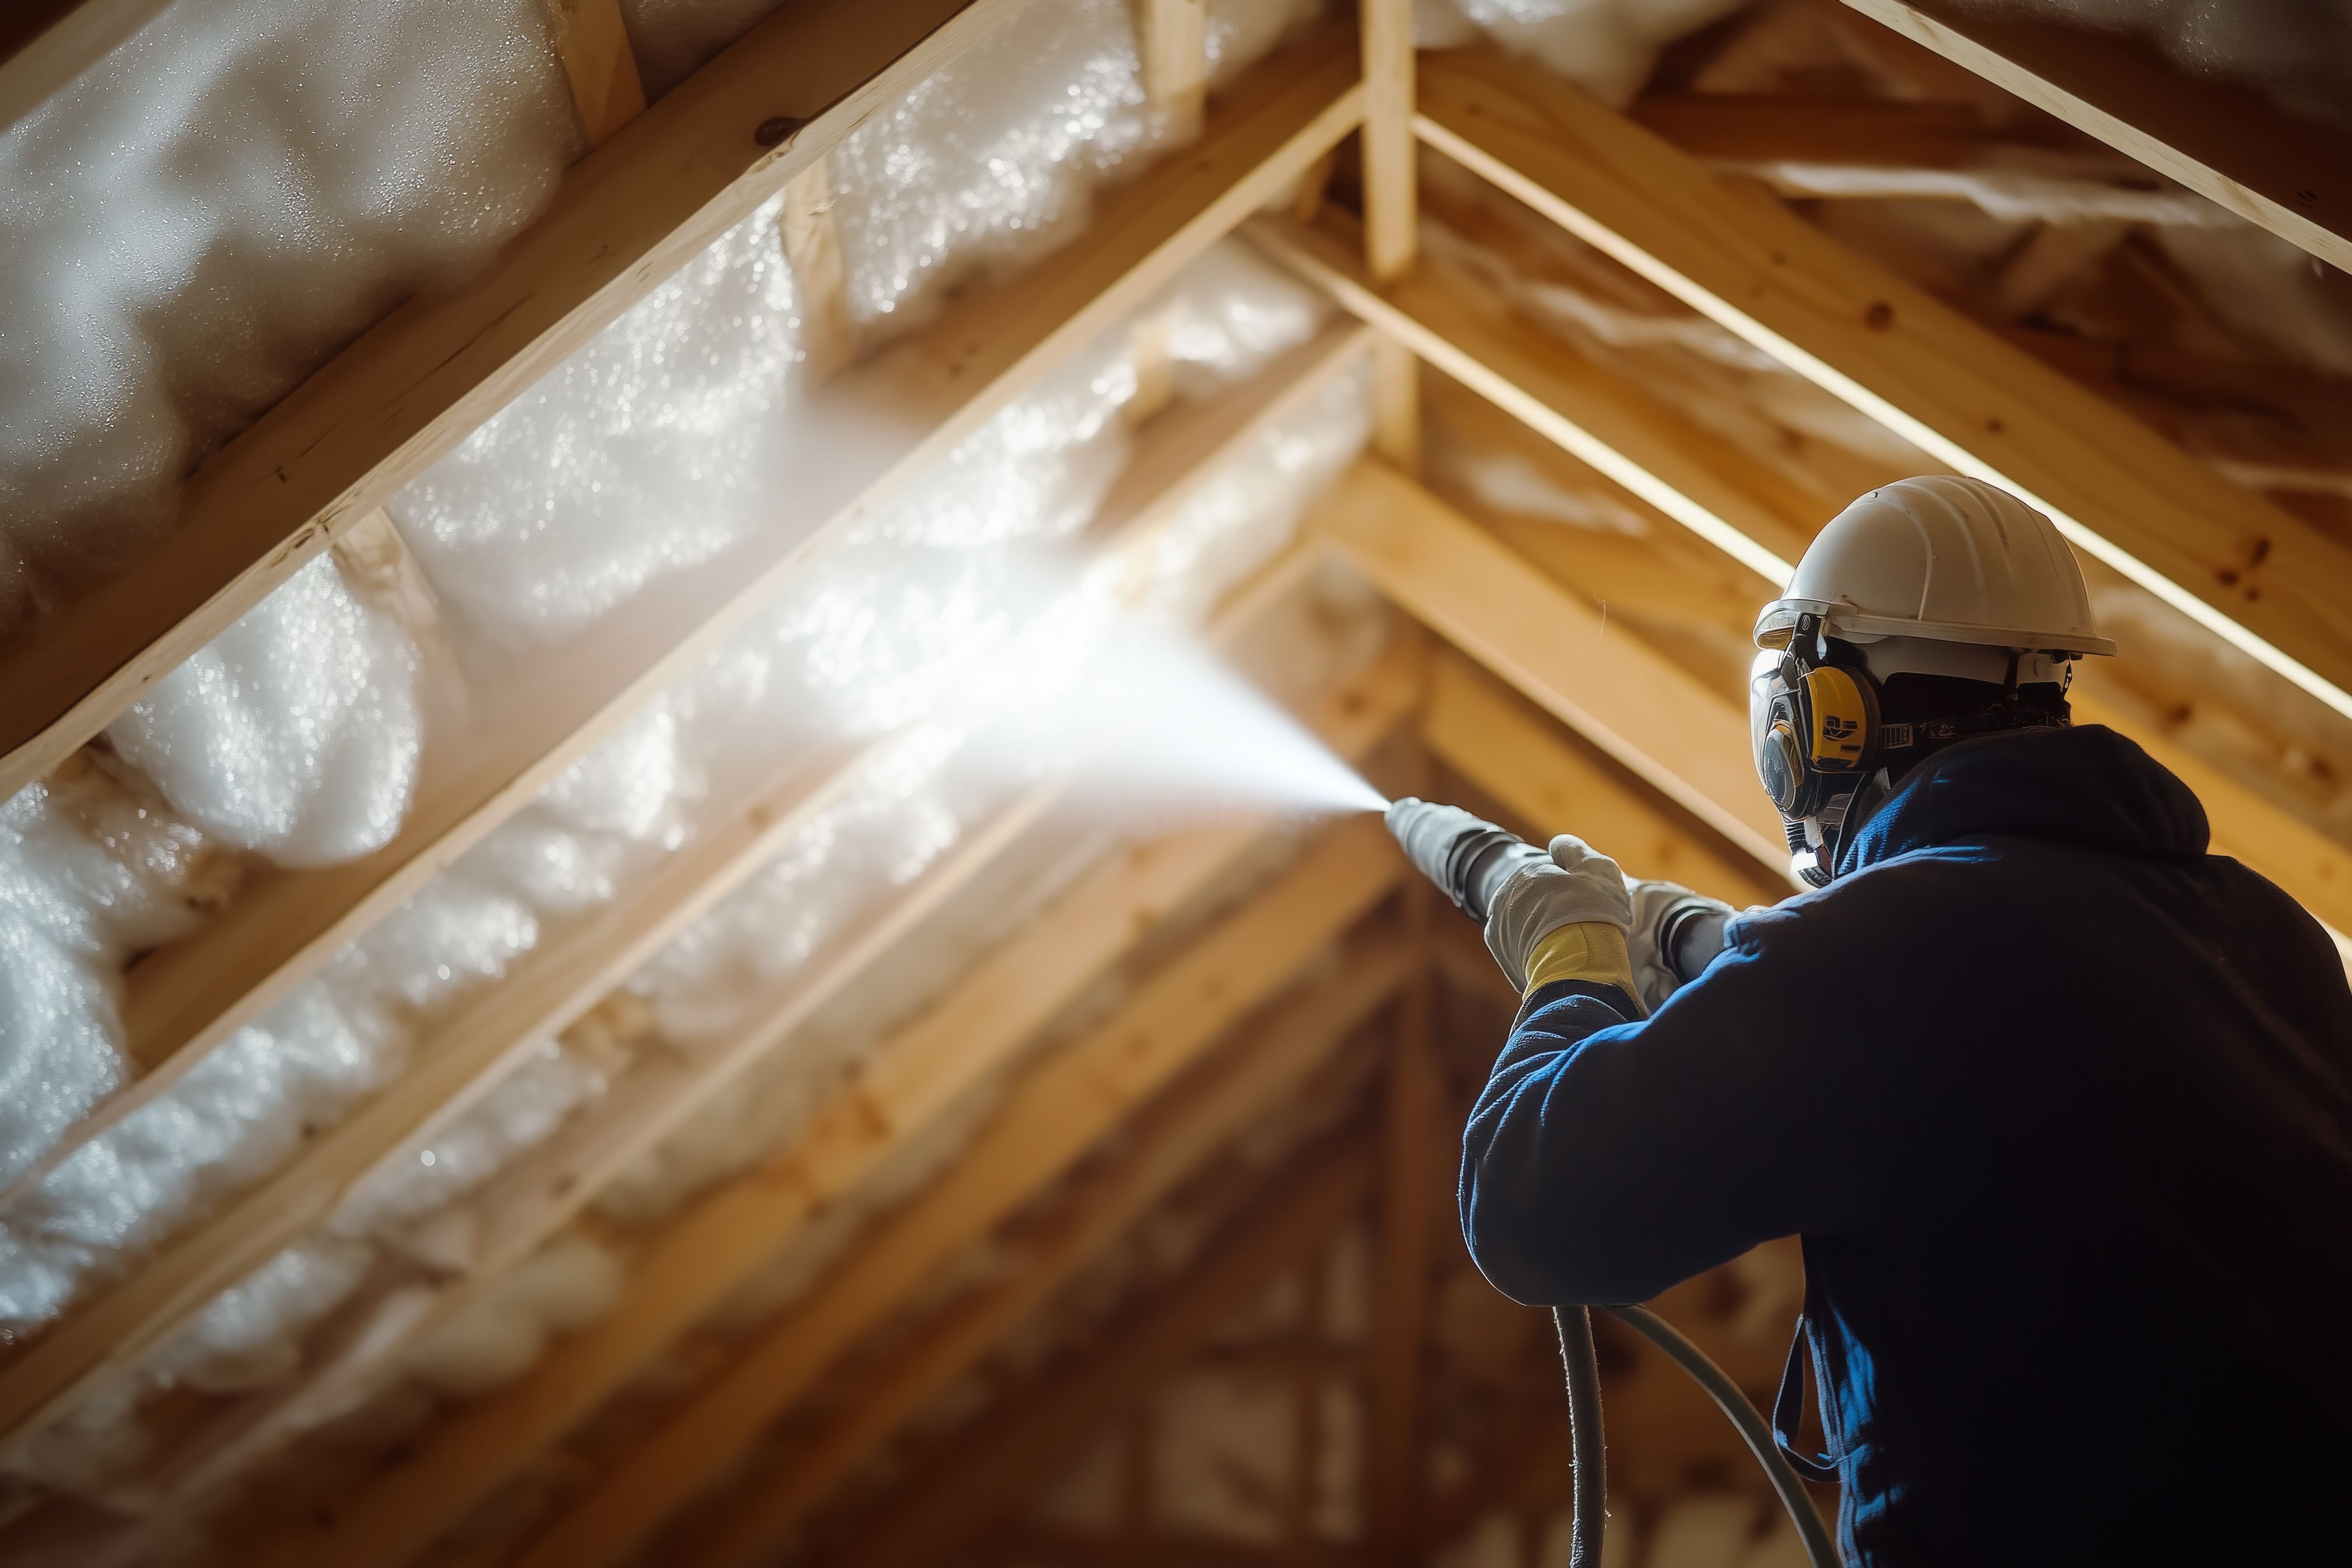
Ice dams form when heat escaping into the attic warms the roof deck, melts snow, and sends water running down to colder eaves where it refreezes. The best long-term fix is not simply chopping ice off the roof; it is controlling attic heat loss, air leaks, and ventilation before winter weather settles in. With the right attic insulation for ice dams, your home can stay warmer, your roof can stay more evenly cold, and your risk of winter water damage can drop significantly.
Why does attic insulation matter for ice dams?
Attic insulation matters because ice dams are usually a symptom of uneven roof temperatures. When warm indoor air leaks into the attic or heat passes through poorly insulated ceilings, the upper roof warms enough to melt snow from below. That meltwater runs toward the overhang, where the roof is colder because it extends beyond the heated living space, and it freezes into a ridge of ice.
That ridge can trap more water behind it. If water backs up under shingles or finds gaps around flashing, it may leak into ceilings, walls, insulation, or trim. This is why attic insulation ice dams are so closely connected: better insulation helps separate the heated living space from the cold roof system.
Insulation alone is not always the full answer, though. Ice dam prevention usually depends on three parts working together:
- Air sealing to stop warm, moist indoor air from leaking into the attic
- Adequate insulation to slow heat transfer through the ceiling plane
- Balanced ventilation to help remove excess attic heat and moisture
When one of these is missing, the roof can still warm unevenly. A thick layer of insulation with open air leaks, for example, may still allow heat to escape through plumbing chases, recessed lights, attic hatches, and wall top plates.
The warning signs start before the first major storm
Many homeowners notice ice dams only after icicles appear, but the conditions that create them often exist long before the first heavy snowfall. If certain rooms feel drafty, ceilings are cold to the touch, or upstairs temperatures swing dramatically, the attic may not be performing as well as it should.
You may also see signs inside the attic. Uneven insulation levels, dark streaks in fiberglass, damp sheathing, frost on nail tips, or visible gaps around penetrations can all point to heat and air movement. While some attic issues require a professional inspection, homeowners can often spot basic red flags with a flashlight and a careful look from the attic access point.
Common warning signs include:
- Large icicles along the eaves after snow events
- Melt patterns on the roof, especially bare patches surrounded by snow
- Water stains on ceilings or exterior walls
- Drafts near ceiling fixtures, attic doors, or upper-floor walls
- Insulation that looks compressed, uneven, dirty, or damp
- Bathroom fans venting into the attic instead of outdoors
- Soffit vents blocked by insulation or stored items
These signs do not automatically mean the roof has failed. Often, they mean warm air is finding its way into places it should not go. Addressing those paths before winter is much easier than dealing with ice, leaks, and emergency repairs during freezing weather.
Air sealing comes before adding more insulation
It is tempting to solve the problem by adding more insulation right away. In many homes, however, air sealing should happen first. Insulation slows heat movement, but it does not reliably stop air movement. Warm air can pass through small openings and carry moisture with it, especially when indoor air rises and escapes through the top of the house.
Think of insulation like a winter coat. It works far better when it is zipped up. Air sealing is the zipper for your attic system.
Key areas to seal include:
- Attic hatches and pull-down stairs These openings are often major sources of heat loss. Weatherstripping, rigid insulation, and a tight latch can help reduce leakage.
- Plumbing and wiring penetrations Small holes around pipes, wires, and vents can add up. Appropriate sealants or fire-rated materials may be needed depending on the location.
- Recessed lights and ceiling fixtures Older fixtures may leak air or create heat concerns. Some require special clearance or replacement with insulation-contact-rated fixtures.
- Chimney and flue gaps These areas need noncombustible materials and proper clearances. This is a place where professional help is often wise.
- Bathroom and kitchen exhaust fans Fans should vent outdoors, not into the attic. Moisture dumped into the attic can contribute to frost, mold risk, and insulation damage.
Once air leaks are sealed, attic insulation for ice dams becomes much more effective. The insulation can do its intended job: slowing conductive heat loss rather than trying to compensate for warm air pouring through gaps.
What kind of attic insulation helps prevent ice dams?
The best insulation for ice dam prevention is the type that creates a consistent thermal barrier across the attic floor while fitting the home’s structure and ventilation needs. Common options include blown-in cellulose, blown-in fiberglass, fiberglass batts, and spray foam in specific assemblies. The right choice depends on the existing attic, access, budget, and whether air sealing has already been completed.
Blown-in insulation is often useful because it can cover irregular spaces, fill around framing, and create a more uniform blanket than poorly fitted batts. Fiberglass batts can work well when installed carefully, but gaps, compression, and misalignment reduce performance. Spray foam may be appropriate in some roofline or air-sealing applications, but it changes how the attic assembly behaves and should be planned carefully.
The goal is not simply to pile insulation wherever there is space. The goal is an even, continuous boundary between the living area and the attic. That means avoiding thin spots near eaves, keeping insulation out of ventilation channels, and making sure the attic hatch is insulated too.
A practical insulation checklist includes:
- Even depth across the attic floor, with no obvious low spots
- No compressed insulation, especially under storage boards or around ducts
- Baffles at the eaves to keep soffit ventilation open
- Insulated and sealed attic access so the hatch is not a weak point
- Proper clearances around heat-producing fixtures
- Dry materials, since wet insulation loses effectiveness and may signal a leak or ventilation problem
If you are unsure what level your attic needs, avoid guessing. Insulation recommendations vary by climate zone and home design, so a qualified contractor or energy auditor can evaluate the house and recommend the right approach.
Ventilation keeps the roof deck closer to outdoor temperature
Ventilation is the third part of the ice dam prevention puzzle. A well-ventilated attic helps move cold outdoor air through the space, reducing heat buildup under the roof deck. It also helps manage moisture that may enter the attic despite good air sealing.
Balanced ventilation usually includes intake near the eaves and exhaust near the ridge or upper roof area. If intake vents are blocked by insulation, paint, debris, or stored items, the system may not work properly. Exhaust without enough intake can even pull air from the house, which can worsen heat loss.
Ventilation should not be used as a substitute for insulation. If the ceiling plane is leaky and under-insulated, ventilation may not be enough to keep the roof cold during snowy weather. The best results come from combining ventilation with air sealing and insulation, not choosing one over the others.
Homeowners should be cautious with quick fixes such as adding random roof vents without evaluating the whole system. More vents are not always better. The airflow path needs to make sense, and the attic floor still needs to be sealed and insulated.
Quick fixes are not the same as prevention
When ice is already hanging from the roof, it is understandable to want an immediate solution. Removing heavy snow from the lower roof with a roof rake may help reduce future meltwater during a storm, but it must be done safely from the ground when possible. Chipping ice with sharp tools can damage shingles, gutters, and flashing, and working on icy ladders is dangerous.
Heat cables can sometimes reduce ice buildup in specific trouble spots, but they do not correct the underlying attic problem. They also require proper installation and ongoing energy use. If the same roof edges freeze every winter, the better long-term question is not “How do I melt this ice?” but “Why is the roof getting warm enough to create it?”
Short-term actions may include:
- Using a roof rake carefully after heavy snow
- Keeping gutters clear before freezing weather arrives
- Watching for interior water stains during thaw cycles
- Calling a professional if ice is large, leaks appear, or access is unsafe
Long-term prevention includes:
- Sealing attic air leaks
- Improving insulation coverage and depth
- Protecting soffit ventilation with baffles
- Confirming exhaust fans vent outdoors
- Inspecting roof flashing and attic moisture conditions
This distinction matters because emergency measures can reduce damage risk during one storm, while attic improvements reduce the chance of repeated ice dam problems winter after winter.
A pre-winter attic plan makes the biggest difference
The best time to think about attic insulation ice dams is before the roof is buried in snow. Fall is a practical season for checking attic access, evaluating insulation, sealing leaks, and clearing gutters. It also gives you time to schedule professional work before contractors are flooded with emergency winter calls.
A simple pre-winter plan can look like this:
- Inspect from inside the home Look for ceiling stains, drafty upper rooms, and cold spots around attic access points.
- Check the attic safely From stable framing or the access point, look for uneven insulation, blocked vents, frost marks, or signs of moisture.
- Seal obvious air leaks Prioritize attic hatches, penetrations, and large bypasses before adding insulation.
- Improve insulation coverage Add or adjust insulation so it forms a consistent layer across the attic floor without blocking intake vents.
- Verify ventilation paths Make sure air can enter at the eaves and exit high on the roof as designed.
- Monitor the first snow After a snowfall, look for uneven melt patterns. They can reveal where heat is escaping.
The takeaway for a warmer, safer winter
Ice dams are not just a roof-edge problem. They are often a whole-attic performance problem caused by heat loss, air leakage, and poor ventilation working together. By focusing on air sealing first, then improving attic insulation for ice dams, and finally confirming proper ventilation, you can reduce the conditions that allow ice dams to form.
The most effective ice dam prevention is proactive. Do the attic work before winter hits, and your home is better prepared for snow, freezing temperatures, and thaw cycles. If you’re not sure where your attic stands, One Nation Exteriors offers attic insulation services and free inspections, so you get a clear look at your insulation, ventilation, and roof together before the snow arrives. A colder roof deck, a warmer living space, and fewer emergency surprises are all worth the effort.